Morton Girl

About Me

My photo
Thrifty finds, DIY, and a soon to be Home Reno...

Welcome!

I love to find cheaper ways to do expensive things. Whether this be through Thrift-store-shopping or DIY decorating, I find a way to get it done. I NEVER shop in the regular priced area of a store. If I do happen to see something I love that is regular priced, I wait til it goes on sale. OR, i make it my own version of it. I love to paint and do crafts. However, being a mother of two and a night-shift nurse, I have very little time to do it. We are also in a rental home while we search for my forever home. So, I am LOVING the blog world right now as I find ideas for my new home. Be sure to follow me so I will know I'm not just blogging to myself. :-)

Tuesday, November 6, 2012

The Ugly Duckling

Has your husband ever given you that, "Have you lost your mind" look?  Or, how about a "Did you spend my hard earned money on that" look? Well, you can bet mine has.  And, most recently, it was over this little NOT SO beauty...


This girl needed to be stripped down and given a good ol' bath.  And, God love her. She needed some serious lovin.  It was obvious she had a way of "gettin around". :-0  That was obvious from the LAYERS of fabric.  Her oldest layer was paper thin and had about 800 staples and finishing nails in it. 


This was my first somewhat invasive upholstery project.  And, to be honest, probably my last. I had my work cut out for me.  But, after months of her staring at me in a very "you know you want to dig in" kind of way, I started her makeover. 
 
Before you think it...I wore gloves and washed my hands often...


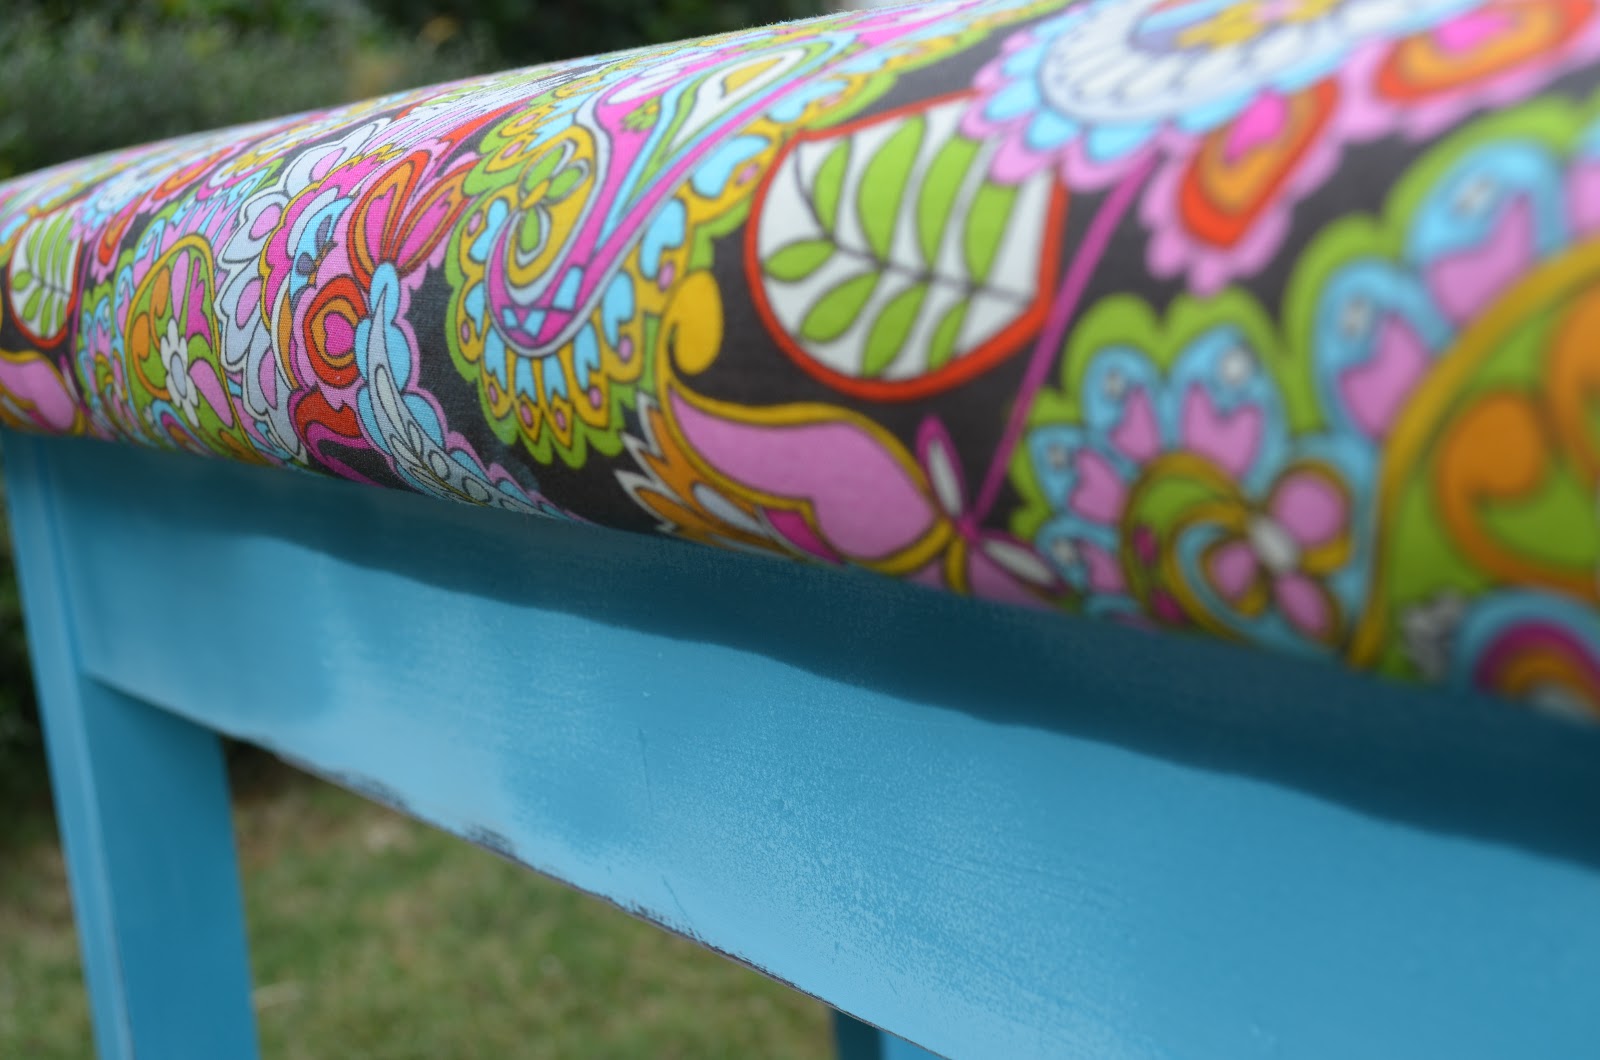
I had the perfect spot for her. She was going to live in the guest bedroom of my new house. The house that I fell in love with. The house that we had a contract on. The house that 4 days before closing, the sellers changed their mind about selling. This house... :-( But, that story is for another day. So, her new home is yet to be determined. But, here she is in all of her perfectly imperfect clean glory. I am NOT posting a tutorial. Because, I am in no way qualified. And, you can tell by looking up close at her, I would steer you wrong. But, just look from afar. And, think about where she's been. The ugly duckling is beautiful in her own way...


 ~Kelli

You can now follow me on Facebook now  "Morton Girl"....I have NO IDEA how to make one of those little FB or Pinterest icons.  But, I'll get better (and fancier).

Monday, November 5, 2012

Piano Bench gets funky...

There once was a girl who lived in a thrift store. Ok, ok...she didn't LIVE in the thrift store. But, she went so often that the employees knew her and her children by name. But, this story is about her.  It's about another girl. A little girl with 4 skinny legs and a belly that could be filled with little treasures. She lived in the thrift store too. She really did. But, not for long...

Here she is when she arrived at her new home. Sad, scratched and her belly was full of some sort of waxy material that I had to get a paint scraper after.

But, with a little bit of love, spray paint, and fabric, she became a cute whimsical little girl who will live at the foot of a special 6 year olds bed...

~Kelli


Saturday, November 3, 2012

Little Blue School Desk

I had seen this inspiration photo on Pinterest from Southern Revivals. I LOVED everything about it!

So, I had been looking for a desk on CL and at the Thrifty. And, low and behold...I found one!! Yay! For only $4.88----Yay! Yay! Yay!


I started by taking the top off and taking some of the splintering wood off. Then, I sanded the underside to prevent any further splintering. I cleaned up the rest of it and started painting.


I used Valspar "Exotic Sea" spray paint for the body of the desk. I LOVE this deep blue truquoise color!!

 
Next, I used roll on chalkboard paint for the top of the desk. (I can just imagine a sweet little one doodling away on their new desk). 
For the wooden parts of the desk...I sanded and used minwax dark walnut stain to freshen it up a bit.  This dark walnut provided a beautiful contrast to the deep turquoise body. 

Then, Humpty Dumpty was ready to be put back together again...


I added the burlap ribbon to the back...well, because I thought it looked cool (and, I'm slightly obsessed with burlap).  So sorry for the bad picture.  The "solo" after pic got erased by the "little hands" that play with my phone constantly sometimes.

This little desk sold within a week of being in our booth at Chelsea Antiques...

I hope you enjoyed the transformation as much as I did!

~Kelli
 

Friday, November 2, 2012

Party for a Princess

My 6 year old is ALL GIRL...baby dolls, dress up clothes, and makeup.  So, it was no surprise when she said she wanted a Princess Party for her this year's b-day celebration. 

I happen to be ALL GIRL myself.  So, I had a blast planning it! My friend, Jeannine, helped tons!  (and, so did my friend ol' "Pinny"---you may know her as Pinterest ;-))
 

The invitation and our craft supplies. Since we were doing a "Princess Pajama Party", we decided to paint pillows as the girls' party prize.


 I made this door hanger for Lanie Mae's first Birthday party and bring it out each year...


This is a coat hanger in the shape of a "6" with tulle & ribbon tied around it.  And, below, are tissue paper Pom Poms my friend Jeannine made.  (thanks Pinterest for that one)

 
The place settings were Dollar Tree plastic cups with ribbon tied around the bottom to "fancy them up" a bit.  And, of course, we had tiaras for all of the princesses.
 
 
Our Birthday Princess had her very own special Tiara preserved in a glass dome.


I was so excited to find these adorable eye masks for the little princesses...

 
I got glass bowls and glasses and super glued them to candlesticks (dollar tree as well).  This added a fancy flair to the candy table.  (thanks pinterest)

And, finally, while the girls slept, I cleaned up round one decor and set up for the morning...


The party was a success!  Now, to plan a Spiderman party for the boy!
 
~Kelli

Thursday, November 1, 2012

Lovely little ladderback....

I found this chair at the thrift store for $3.88.


She was in sad shape. Someone had tried to stain her. (and, gave up part-way though) and, it looked as if the seat had been taken off and just a plain piece of wood was nailed into the legs of the chair.

So, I sanded, and sanded, then, sanded some more. I, then, sprayed some kilz primer on the entire chair.

I painted it with some turquoise spray paint I already had in the gaage. Then, i lightly brushed white acrylic paint over it and distressed it with 220 grit sandpaper.

Lastly, I had some poly-FIL and some
Adorable fabric in the garage as well. So, I put my trusty staple gun to WORK!


Here she is now...
She is in her temporary home at Chelsea Antiques awaiting her new owner ;-)

Tuesday, October 30, 2012

Morton Girl meets Annie Sloan

Oh, I'm in love!! And, of course, with something that's expensive. My sister asked me to paint her Mother-in-Law's old French Provincial Cabinet for her. It was to be an accent piece in her brand new home! So, as much as I had to fight back my cheapskate tendencies, I felt like this was NOT the project to skimp on. So, I bit the bullet and bought some Annie Sloan Chalk Paint. And, WOW, was I impressed!!

I started by taping the glass area off .


 Then, I mixed 3 parts Aubusson Blue with 1 part Old White. (Estimated)....The girl at the fancy paint store told me to mix it in a jar with a lid. So, I was able to use one of the 100 mason jars I had in the garage. It worked great and I have LOTS left over.

After it was mixed, I was ready to get started. It was SO smooth going on and very simple to use.
After two coats, I was set!


Then, onto the inside. Whew!! The shelves didn't come out, which made for a bit of a challenge. But, I put on my big girl panties and went to work I used old white on the inside knowing I would distress it heavily and use a mixture of clear and dark wax on top of it.


The distressing was easy and fun!! You could just see the beauty coming through the more I sanded.


After distressing, I put at top coat of clear (mixed with a little dark) wax on top. 

Here she is after...


And, in her new home...

 
I have been a BUSY diy/crafter.  But, a terrible blogger. So, stay tuned for some before and after posts coming soon!

Friday, August 31, 2012

Eye Candy

I save random photos on my phone. And, being the terrible blogger that I am, I have no idea the source of these photos. :-( But, anyway, they are fun to swoon over...

Monday, March 5, 2012

Leggy Ladies...

I'm talking about those buffet/sideboard/dressers that just have legs "to die for".  Oh, how I loooove those pieces.  I have been stalking CL in search of one that I can refinish (without paying an arm and a "leg" ;-))  Here are a few pieces that make me drool a little...
source unknown


source unknown


Etsy

Local Sales Site in Raleigh, NC


SO, if any of you see any pitiful looking pieces similar to these around your parts, let me know.  And, the more love I can show it, the better.  I am up for the challenge.

Until Next Time...
-Kelli