


 |
| This is the body shot. Notice the top part section has a hole in the back. I knew this. But, I had a plan. |

 PROGRESS...
 |
| The CULPRIT |
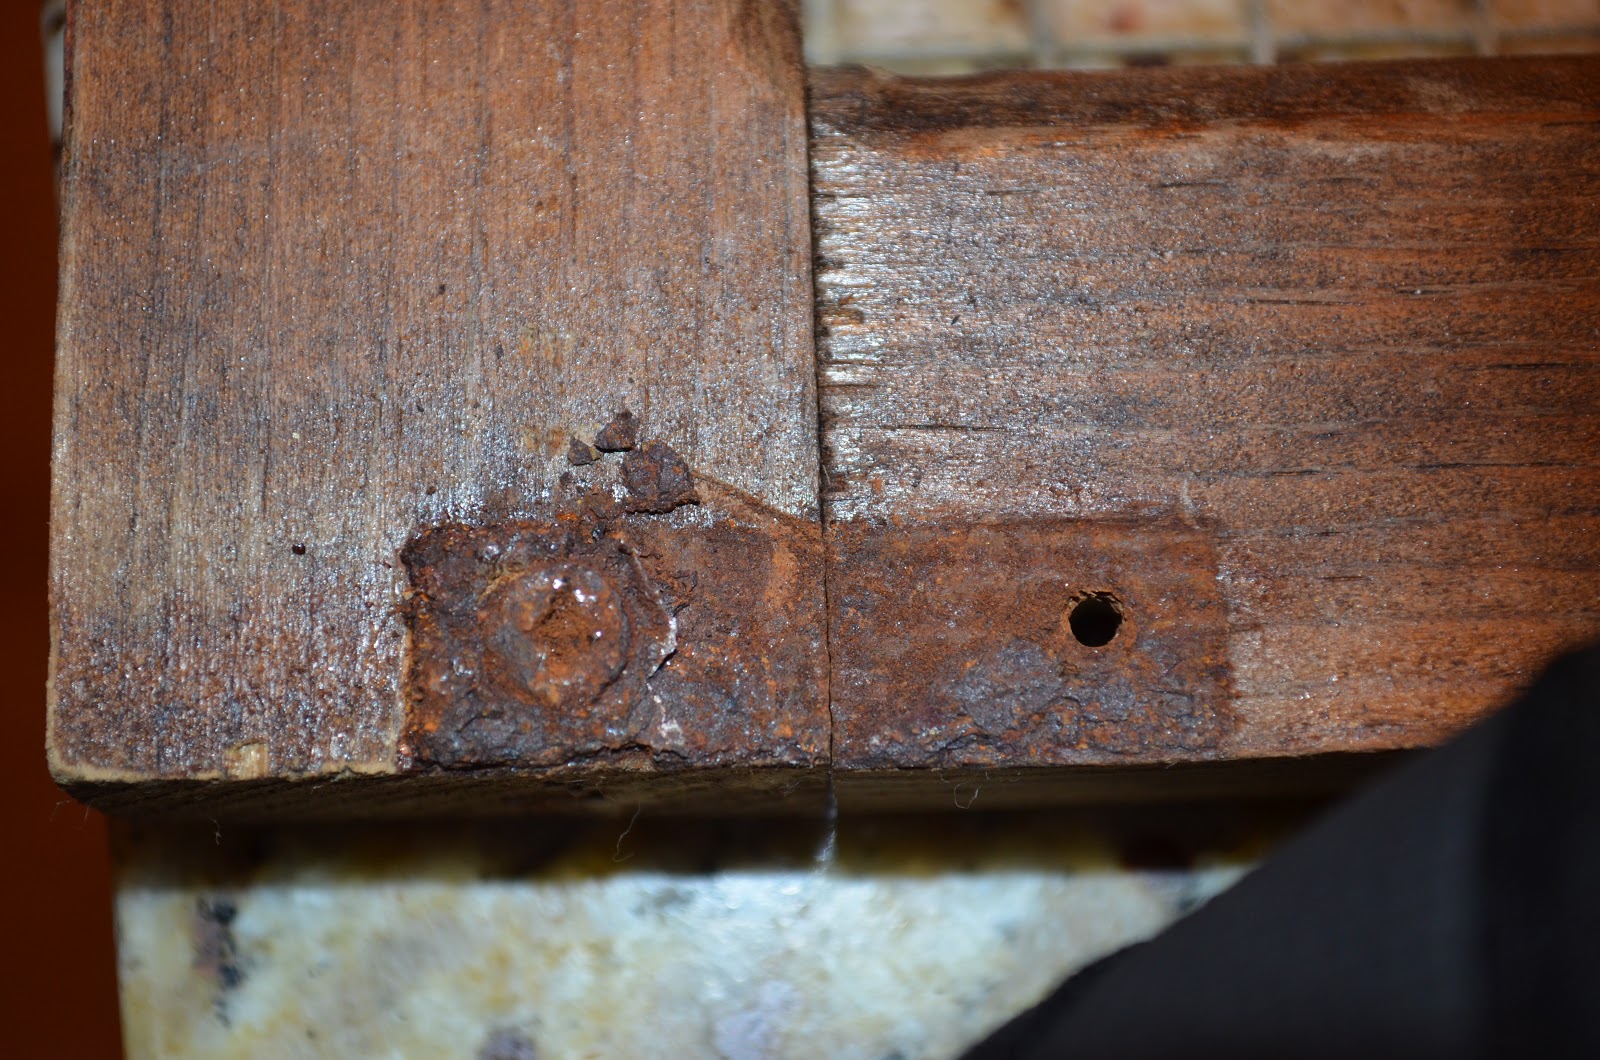 And, this, my friends, is a RUSTED, STRIPPED Screw... (insert UGLY WORD here)
 This, is my precious little helper...
 I used needlenosed pliers, regular pliers, wire cutters, multiple sized (and shaped) screw-drivers...and whew!!!
FINALLY, got it. And, what I had left was a rusty mess

 I painted the exterior of the cabinet and the doors with Annie Sloan's Emperor's Silk and wiped on some of her Dark Soft Wax. I also wiped on MinWax's Dark Walnut Stain/Poly. It made the shelves look SO MUCH BETTER. Notice the top shelf vs the bottom. And, I wasn't even done at this point.
And, here she is...I added burlap to the backs of each cubby. (to add texture and to camo the hole in the back of the top cubby.)

Until next time...
Kelli
1 comment:
Love this! The bold red is perfect!
Cathy
Post a Comment